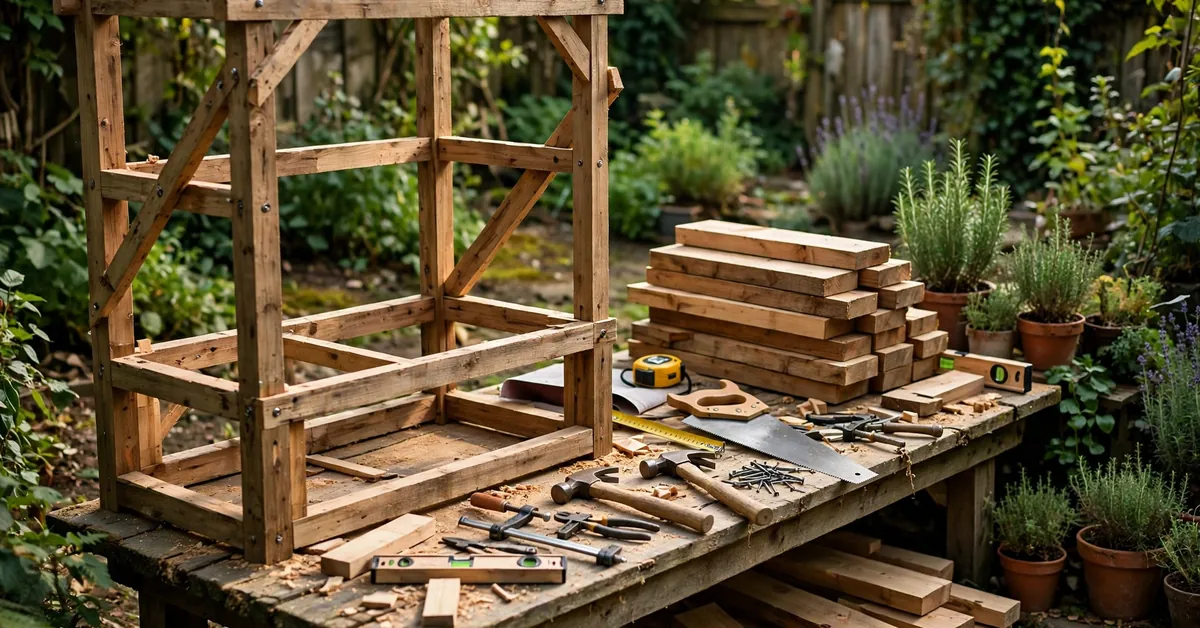
Every mud kitchen in our garden started the same way: two pallets leaning against the fence and a determined toddler with a mixing bowl. The pallet version lasted a summer before it wobbled itself apart, and that’s when I sat down and drew up the plan in this post — a simple, sturdy mud kitchen I could build in a weekend with basic tools and timber from the local DIY store.
This is the plan I wish I’d had at the start. It builds a freestanding mud kitchen with a worktop, a lower shelf, a drop-in bowl sink and a backboard with hooks for utensils. Nothing fancy, no awkward angles, and every cut is a straight line. The full plan is written out below so you can build straight from this page, and there’s a printable PDF version to take out to the garden with you.
What You’re Building
The finished kitchen is a classic three-part design:
- A worktop at child height for mixing, pouring and “cooking”
- A drop-in bowl sink — a washing-up bowl or stainless mixing bowl set into a cut-out in the worktop, which lifts out for emptying
- A backboard behind the worktop for hooks, a small shelf and (in our house) a hand-painted menu board
- A low storage shelf underneath for pots, pans and the inevitable collection of special stones
It suits children from around 18 months up to about 7 years, depending on the height you choose. The build uses standard decking boards and construction timber, so there are no special orders and no wasted money if you change your mind halfway through — everything can be reused elsewhere in the garden.
IKEA mud kitchen — if you’d rather adapt flat-pack furniture than build from scratch, our IKEA-based version is a great alternative starting point.
Finished Dimensions
Build it to these sizes, or adjust the leg length to suit your child (more on that below).
| Part | Dimension |
|---|---|
| Overall width | 120 cm (about 4 ft) |
| Overall depth | 55 cm (about 22 in) |
| Overall height (top of backboard) | 110 cm (about 43 in) |
| Worktop height — toddlers (18 months–3 years) | 40–50 cm (16–20 in) |
| Worktop height — older kids (4–7 years) | 55–60 cm (22–24 in) |
| Lower shelf height | 15 cm (6 in) off the ground |
The simplest way to pick a worktop height: have your child stand at the kitchen table or a low stool and measure from the floor to just below their elbow. Somewhere in that range is where they’ll happily stir, pour and mash for long stretches without hunching or reaching up.
Worktop height matters more than any other measurement on this build, so it’s worth getting right. mud kitchen dimensions — our full guide to mud kitchen dimensions covers heights by age in more detail, plus how much garden space to allow around the kitchen.
Cut List
All timber below is standard, widely available stock. Decking boards are ideal for the worktop and shelf because they’re already treated for outdoor use and have slightly rounded edges.
For the frame (38 × 63 mm / 2×3 in construction timber, or similar):
- 4 × legs — cut to your chosen worktop height (e.g. 50 cm)
- 2 × long side rails — 120 cm
- 2 × short side rails — 45 cm (to fit between the legs and give a 55 cm overall depth)
- 2 × shelf bearers — 45 cm
For the worktop, shelf and backboard (decking boards, approx. 120 × 28 mm, or pallet deck boards in good condition):
- 5 × worktop boards — 120 cm
- 4 × lower shelf boards — 120 cm
- 4 × backboard boards — 110 cm (these run vertically, or horizontally if you prefer)
If you’re using pallets instead of bought timber, you’ll need two sound pallets for the boards plus separate timber for the legs — pallet wood is rarely straight or thick enough for legs that need to take a leaning child’s weight.
Materials List
- Timber as per the cut list (bought decking boards and construction timber typically come to a modest pile — see the cost section)
- Exterior wood screws: 4 × 40 mm and 4 × 60 mm (a mixed box covers the build)
- 1 large washing-up bowl or stainless steel mixing bowl, roughly 30–36 cm across the rim — this is your sink, so buy it before you cut the sink hole
- Exterior wood glue (optional, but makes joints noticeably more solid)
- Sandpaper: 80 grit for rough spots, 120 grit for finishing
- Child-safe, non-toxic outdoor wood finish — look for a water-based exterior stain or oil labelled non-toxic once dry
- 4–6 hooks for utensils (stainless or coated, so they don’t rust)
- Optional: a small piece of chalkboard or painted board for a menu/sign
Looking for budget-friendly pots, pans and utensils to stock it with? mud kitchen accessories ideas — most of ours came from charity shops and car boot sales.
Tools You’ll Need
- Tape measure and pencil
- Saw (a handsaw works fine; a mitre saw or circular saw speeds things up)
- Drill/driver with drill bits and a countersink bit
- Jigsaw — only for the sink cut-out
- Spirit level
- Square (for checking corners)
- Clamps (two is plenty; a second pair of hands also works)
- Safety glasses, and gloves for handling rough pallet wood
No power tools at all? It’s doable — see the FAQ at the bottom.
Step-by-Step Build
Step 1: Cut everything first
Cut all the frame pieces and boards to the cut list before you assemble anything. This is the single best habit I learned building these: one cutting session, one building session, far less swearing. If the shop offers a cutting service, take your list with you — most DIY stores will do the straight cuts for free or a small fee.
If you’re using pallet wood, pry the boards off carefully, remove every nail, and sort them. Reject anything split, rotten or stained with oil.
Step 2: Build the two side frames
For each side: take two legs and join them with a short side rail at the top (this sets the worktop height) and a shelf bearer about 15 cm from the bottom. Pre-drill and screw from the outside of the leg into the rail ends. Check each frame is square before the glue dries or the screws are fully driven.
Step 3: Join the frames with the long rails
Stand the two side frames up and connect them with the two 120 cm long rails — one at the back of the worktop line, one at the front underneath the worktop edge. You now have the skeleton of the kitchen. Check it stands level; on uneven grass or slabs, this is the moment to trim one leg slightly rather than fighting it later.
Step 4: Fit the lower shelf boards
Lay the four shelf boards across the shelf bearers, spacing them with a pencil-width gap for drainage, and screw down through each board into the bearers. Leave a small overhang at the front if you like the look — it also makes a handy toe-kick so little feet can get right up close.
Step 5: Fit the worktop boards
Lay the five worktop boards across the top of the frame, again with narrow drainage gaps, flush at the back where the backboard will sit. Don’t screw the middle board down yet if your sink bowl will sit centrally — you’ll cut the sink hole first, and it’s far easier to cut a loose board on a bench than one fixed to the frame.
Step 6: Cut the sink hole
Place your bowl upside down on the worktop board(s) where you want the sink, roughly centred front-to-back and slightly left or right of centre. Draw around the rim, then draw a second line about 1–1.5 cm inside the first — this inner line is your cutting line, so the bowl’s rim rests on the board while the base drops through.
Drill a starter hole inside the inner circle, then cut along the line with a jigsaw. Sand the cut edge smooth. Drop the bowl in and check the fit: it should sit firmly on its rim and lift out easily for emptying.
Step 7: Add the backboard
Fix the four backboard boards vertically to the back legs, running from the worktop up to the full 110 cm height. Alternatively, fix them horizontally across two vertical battens — either looks good. Leave the same narrow gaps between boards. The backboard stops things disappearing off the back of the worktop and gives you somewhere for hooks and shelves.
Step 8: Hooks, and a small shelf if you want one
Screw 4–6 hooks into the backboard at a height your child can reach. A short offcut of decking board makes a handy little shelf above the worktop for cups and “ingredients.” This is also where a little sign transforms the whole thing from bench to “café” — mud kitchen signs for ideas the kids can help paint themselves.
Step 9: Sand everything — properly
Go over every surface and edge with 80 grit, then 120 grit. Pay special attention to the worktop edges, the sink cut-out, the ends of the backboard and anywhere small hands will grip. Run your bare palm over it: anywhere that catches your skin would catch theirs.
Step 10: Apply the outdoor finish
Brush on your non-toxic outdoor finish following the tin’s instructions, and let it dry fully before the first play session. Two thin coats beat one thick one. A finish isn’t strictly essential on treated decking boards, but it slows the silvering and makes mud much easier to hose off.
Stand back, drop the bowl in, and hand over the spoons. You’re done.
Variations Worth Considering
Double sink. Use a wider build (150 cm) or fit two smaller bowls side by side. Brilliant for siblings — one side for “washing up,” one for potions — and it ends most arguments before they start.
Toddler height. Simply cut the legs to the 40–50 cm worktop range and leave the backboard a little shorter (90 cm overall). Low and stable matters more than storage space at this age. You can always make a taller one in a few years and pass this one on.
Add a water container. A drinks dispenser with a tap, fixed on a small raised shelf at one end of the backboard, gives kids a working “tap” without any plumbing. A lidded container you fill from the hose each morning works just as well and is easier to keep clean. Whichever you choose, it should be emptied and rinsed daily — see the safety notes below.
Safety Notes
A mud kitchen is a wonderfully low-risk toy, but a few build-time decisions make it properly safe:
- Anchoring: the kitchen is stable on a flat surface, but if your ground slopes or your children climb (they will), secure the back legs to a fence, wall or ground stakes so it cannot tip towards them.
- Splinters: sand thoroughly as in Step 9, and check pallet wood twice — it hides rough patches and the occasional stray staple. Re-sand any spot that roughens up over the seasons.
- Non-toxic finishes: choose a water-based finish labelled non-toxic when dry, and let it cure for the full time on the tin before play. If in doubt, leave treated decking boards unfinished rather than using an unknown coating.
- Water hygiene: bowls of standing water grow things fast in warm weather. Empty the sink bowl every evening, rinse it, and refill fresh each day. Any water container with a tap needs the same daily routine.
- Supervision: mud kitchens involve water, soil and small found objects. Toddlers need the usual outdoor supervision, and it’s worth agreeing a family rule about “ingredients” — garden plants only, nothing from paths or other people’s gardens.
Cost and Time Estimate
All figures are typical, approximate ranges — timber prices vary a lot by shop and season.
- Time: one weekend — roughly 4 to 6 hours of actual building, plus drying time for the finish.
- Build cost, bought timber: typically around £40–£80 / US$50–$100 for decking boards, frame timber, screws and finish, assuming you already own basic tools.
- Build cost, pallet version: typically £10–£25 / US$15–$30, mostly screws, finish and the bowl, if your pallets are free.
- The bowl: a washing-up bowl is usually a few pounds/dollars; a large stainless mixing bowl costs a little more and lasts for years.
FAQs
Is the plan really free?
Yes. The full plan is written out on this page, and the printable PDF version is free to download, print and keep in the shed. No sign-up tricks — if you build it, we’d just love to hear how it turned out.
What wood should I use?
Pressure-treated decking boards and construction timber are the easiest choice — they’re sold for outdoor use, widely available and already smooth-ish. Pallet wood works too and keeps the cost right down, but choose clean, dry pallets (look for an “HT” heat-treated stamp rather than “MB”), remove every nail, and sand them well.
How long does it take to build?
A comfortable weekend project: about 4 to 6 hours of building spread over a day or two, most of it cutting and sanding. Getting the shop to cut the timber to the list knocks a good hour off.
What size should I build for a 2-year-old?
Aim for a worktop height of about 40–45 cm, an overall width of 120 cm is still fine, and keep the backboard lower at around 90 cm. Low, wide and stable is the right shape at two. Measure your child standing at a low table if you’re unsure — just below elbow height is the sweet spot.
Can I build it without power tools?
Yes, honestly. Every cut in this plan is straight, so a sharp handsaw does the job — it’s slower, and you’ll feel it in your arm, but the kitchen will be just as good. The shop’s cutting service can do most cuts for you. The only genuinely fiddly cut without power tools is the sink hole; the workaround is to drill a series of small holes just inside the line and join them up with a coping saw, then sand the edge smooth.