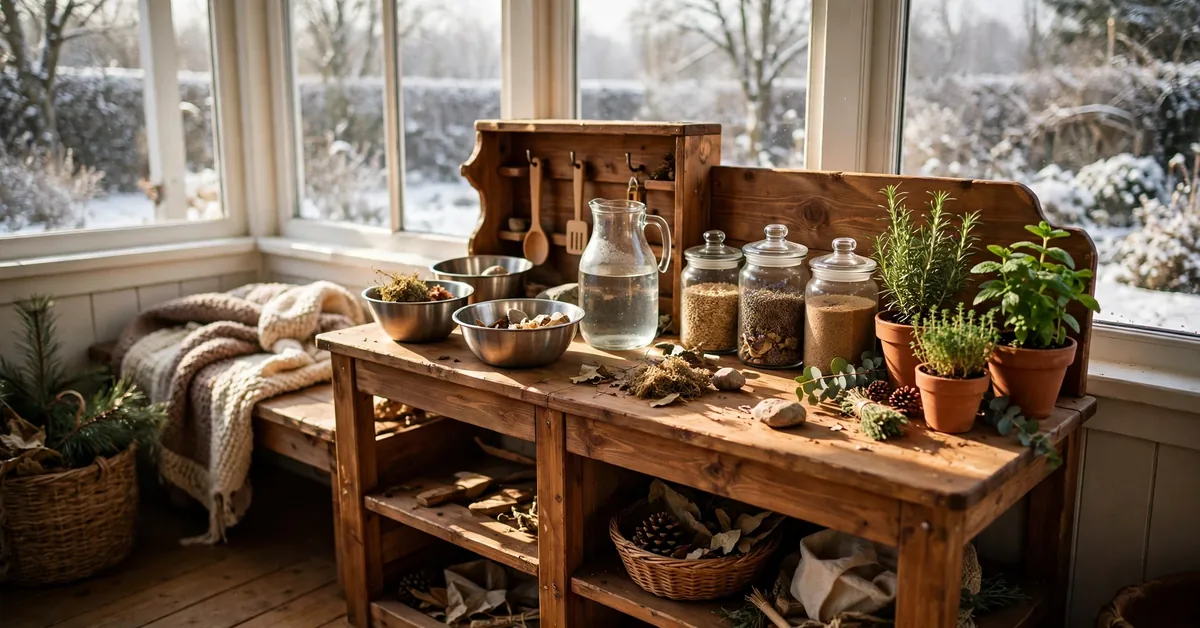
Somewhere around the third straight week of November rain, our mud kitchen goes quiet. The water container gets emptied, the tarp goes over, and the children start circling the house like small, bored weather systems. The first winter, that’s exactly what happened — the kitchen slept, the kids climbed the walls, and by January everyone was fed up.
It doesn’t have to go that way. Mud play doesn’t end in winter; it relocates, shrinks and changes ingredients. Over the last few years we’ve run three versions of cold-weather mud play — a semi-outdoor corner that works in almost any weather, a genuinely indoor setup that keeps real mud in play without wrecking the floor, and short, well-dressed outdoor sessions that use winter itself as the ingredient. Here’s all three, honestly, including the bits that didn’t work.
First, the Honest Bit: What Changes in Winter
Winter mud play is not summer mud play with a coat on. Three things change, and the setups below are all built around them:
- Sessions get shorter. Twenty absorbed minutes is a win in January. Plan for little and often rather than the long summer café shifts.
- Water gets rationed. Cold water on small hands ends play faster than anything. Warm water (more below) and small quantities are the whole trick.
- The mess moves closer to the house. Which means the containing gets serious: trays, mats and lids stop being optional.
Get those three right and winter becomes a different flavour of the same play, not the end of it.
Option 1: The Semi-Outdoor Corner (Porch, Garage or Covered Patio)
This is the version I’d recommend first, because it keeps real mud and real water and still works in sideways rain. You need a patch of covered, hard-floored space about a metre square: a porch, a garage corner, a covered patio, even a carport edge.
The setup, in order:
- A large, low tray or a sheet of old lino/vinyl flooring goes down first — this is the kitchen’s “floor”, and everything happens on it. A builder’s mixing tray or a big boot tray works; ours is a 100 × 80 cm tray that cost about $15 / £12.
- The kitchen shrinks to its essentials: one washing-up bowl of mud, one small container of water (a 2-litre jug is plenty), two or three tools, and a crate for the rest. The full garden kitchen stays under its tarp; this is a travelling version.
- A second bowl of clean water and a towel live by the door — the hand-wash station, non-negotiable, because semi-outdoor play drifts indoors on small feet.
What children actually do in the corner is interesting: the play gets smaller and more elaborate. Café play intensifies (menus, orders, tiny portions), potion-making takes over from bulk mud pies, and everything is closer to adult company, which the under-fives clearly prefer in winter anyway.
Option 2: The True Indoor Setup (and the Mud Substitutes, Ranked Honestly)
Sometimes there’s no porch and no garage, and the choice is an indoor version or nothing. This works — but this is where you swap the mud, because real soil indoors is a step too far even for me (grit in floorboards is forever). The substitutes, in the order I’d reach for them:
Cocoa “mud” — the taste-safe one
Cocoa powder, plain flour and water, mixed to mud consistency. It looks astonishingly like mud, smells like a bakery, and if a toddler tastes it, nothing bad happens. It’s the right choice for under-threes and for kitchen-table play. Downsides: it costs more than dirt, and it will dye a pale carpet, so the tray rule still applies.
Cloud dough / kinetic-style mixes
Flour and a little oil (about 8 parts flour to 1 part oil) makes a mouldable, packable “sand-mud” that holds pie shapes beautifully and sweeps up when dry. No water at the table at all — the cleanest option on this list, and the one to choose for carpeted houses.
Dried lentils, rice and oats — with two warnings
Pourable, scoopable, brilliant for filling and tipping play. Warning one: not for children who still mouth everything — small hard pieces are a choking hazard and uncooked rice isn’t food. Warning two: spilt lentils on a hard floor are ball bearings. If you use dry fillers, the tray needs a raised lip and play stays seated. For over-fours at a table, though, this is the lowest-effort indoor setup there is.
Real mud, indoors, contained — the compromise
If your child insists on actual mud (mine did), the workable version is a lidded tub of garden mud brought in for the session, used inside the big tray, with a strict “mud stays in the tray” rule and the hand-wash bowl at the door. Small quantities — a single washing-up bowl, not a bucket — are what make this survivable. The hygiene rules are exactly the ones in my mud kitchen safety checklist: fresh soil you know the history of, nothing from cat-visited patches, hands washed at the end.
Whichever substitute you use, stock it like the real thing: the bowls, scoops, moulds and serving bits from my what to put in a mud kitchen list all transfer indoors unchanged. Half the play is the equipment, not the mud.
Option 3: Keep Going Outside — Short Sessions, Winter Ingredients
Some winter days are made for it — bright, cold, still — and outdoor play in winter has one secret weapon: fill the water container with warm water. Not hot; comfortably warm, like a bath. Small hands in warm water stay warm surprisingly long, and the steam rising off a bowl of “soup” on a frosty morning is genuinely magical to a five-year-old. Refill small and often rather than one big cold reservoir.
Dress for it properly (waterproof suit, wellies, a spare pair of gloves for when the first pair is soaked) and lean into what winter provides:
- Frozen play: fill bowls, bundt tins and silicone moulds with water, petals and leaves in the evening; by morning you have ice “cakes” to excavate, stack and serve. Add salt and warm water droppers for a full ice-rescue session.
- Frozen mud pies: yesterday’s pies, frozen solid, become bricks. Building with them is a whole new game.
- Winter ingredients: pine cones, evergreen clippings (from known, non-toxic trees — yew is poisonous, so check before you snip), holly-free berries are best avoided entirely, but orange peel, cinnamon sticks, star anise and cranberries give the café a winter menu. Several of the mud kitchen recipes adapt beautifully — leaf tea becomes spiced orange tea, and stone soup is a winter natural.
- Mud itself changes: wet winter soil makes the smoothest, most packable mud of the year. Pie season, honestly, peaks in November.
Set a timer if you need to. Twenty minutes outside with warm water beats zero minutes, and everybody comes in rosier.
What the Indoor Setup Costs (and What to Skip)
Almost everything above is already in your house. The realistic shopping list, if you’re starting from nothing:
- The big tray: $12–$20 / £10–£15. This is the one thing worth buying properly — it’s the difference between a contained activity and a cleaning incident.
- A lidded tub for mud or dry mix: $5–$8 / £4–£6, or any storage box you already own.
- Cocoa powder and flour for cocoa mud: a few dollars a batch, and a batch lasts several sessions in the fridge tub.
- Bowls, scoops, jugs, moulds: free — raid the kitchen cupboard and the existing mud kitchen crate before buying anything.
Skip the purpose-sold “indoor sensory play kits” unless you love them on sight: they’re the same bowls and scoops at three times the price, in colours chosen by a marketing department. The one exception I’ll allow is a decent waterproof mat if your tray will live on carpet — that’s insurance, not decoration, and it pays for itself the first time a jug goes over.
Keeping the Outdoor Kitchen Alive Through Winter
The garden kitchen shouldn’t just be abandoned until March — a tarp alone invites damp, green algae and a sad discovery in spring. Empty every container (standing water freezes, splits plastic and grows things), store the small parts and any pump or tap fittings in the shed, and cover the frame so air can still move a little. Five minutes in November saves a rescue job in March — the full routine is worth doing properly.
A Realistic Winter Week, So You Can Steal It
- Monday (wet): porch corner, cocoa mud, café play — 30 minutes.
- Wednesday (bright and cold): outside, warm water, ice cakes from Tuesday night’s moulds — 25 minutes.
- Friday (dark by four): kitchen table, cloud dough, pie-making with real cake tins — 20 minutes, swept up in two.
- Weekend: one proper outdoor session if the weather gives you a window, winter ingredients collected on a walk first.
That’s it. Not every day, not for hours — just enough that the kitchen never becomes a closed chapter, and spring arrives to find the habit still alive.
FAQs
Can you really have a mud kitchen indoors?
Yes, in a contained form: a large low tray as the boundary, small quantities, and either a mud substitute (cocoa mud or cloud dough for the youngest) or a single lidded tub of real mud used inside the tray. What doesn’t work is an unbounded indoor setup — the tray, the door-side hand-wash bowl and modest amounts are what make it survivable.
What is the best mud substitute for indoor play?
For under-threes, cocoa mud (cocoa powder, flour, water) — it looks the part and is taste-safe. For older children and carpeted houses, cloud dough (flour and oil) is cleanest because there’s no water involved. Dry fillers like lentils and rice are excellent for over-fours at a table but are a choking hazard for mouthing toddlers and treacherous underfoot when spilt.
How do I stop an indoor mud kitchen wrecking the floor?
The tray is the whole answer — a metre-square low tray or old lino sheet under everything — plus small quantities, a lidded tub for the mud itself, and a hand-wash bowl and towel stationed at the door back into the house. Sessions end with the two-minute tidy as part of the game, same as outdoors.
Is it OK to play at the outdoor mud kitchen in winter?
Absolutely — on the right days, it’s some of the best play of the year. Keep sessions short, use warm (not hot) water so hands stay comfortable, dress in waterproofs with a spare pair of gloves, and empty containers afterwards so nothing freezes or stagnates. Frozen bowls and ice “cakes” turn cold weather from an obstacle into an ingredient.
What age is indoor mud play suitable for?
From about 18 months with the taste-safe cocoa version and arm’s-reach supervision, since everything will be mouthed. Cloud dough and contained real mud suit twos and up; dry fillers (lentils, rice) are for over-fours who are past the mouthing stage. The under-three rules in my toddlers guide apply indoors exactly as they do in the garden.